When it comes to sealing gaps, cracks, and joints around your home or workspace, caulking is one of the most essential yet overlooked tools in your DIY or maintenance arsenal.
In this guide, we’ll cover everything you need to know about caulking from choosing the best product for your specific needs, to tips for clean application.
What is caulking and its usage?
Caulking is the process of sealing joints, seams, or gaps in various structures and surfaces using a material called caulk.
Caulk is a flexible compound that comes in tubes and is applied with a caulking gun to prevent air, water, dust, or insects from entering or exiting a space.
It is commonly used in both construction and home maintenance to create a tight seal that improves durability, energy efficiency, and aesthetics.
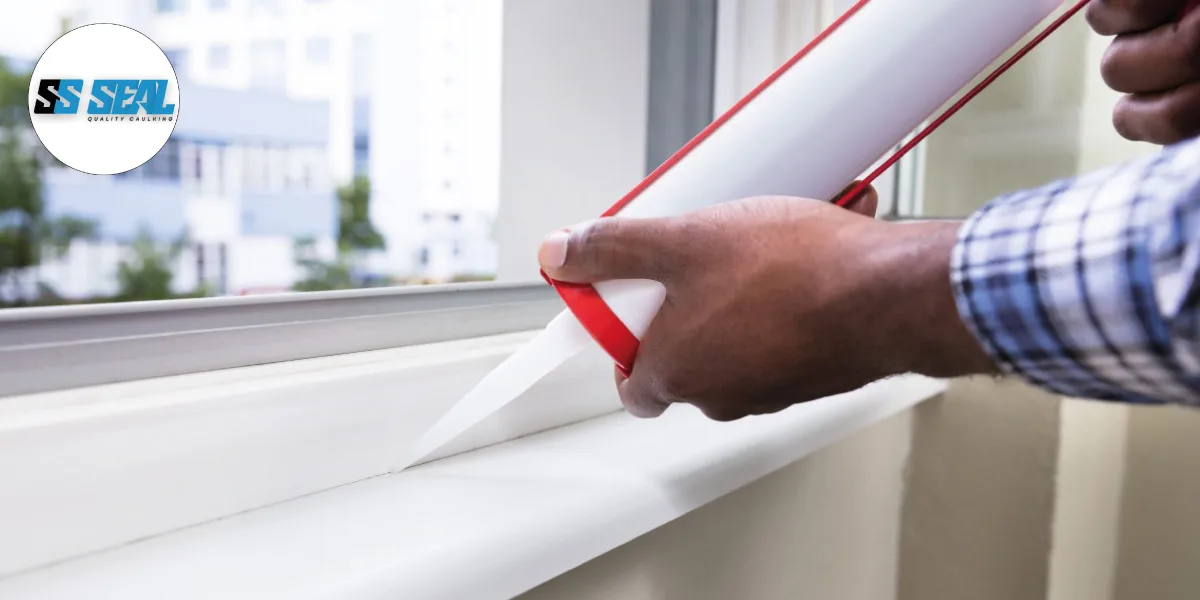
One of the most common uses of caulking is in interior finishing work. It is applied along baseboards, crown molding, door frames, and window trim to close small gaps where materials meet.
This not only creates a clean, polished look but also helps reduce drafts and improve insulation. In addition, paintable caulks allow for seamless blending with walls and trim once the caulk has cured.
Caulking is also essential in wet or high-moisture areas such as bathrooms, kitchens, and laundry rooms.
Around bathtubs, sinks, backsplashes, and showers, waterproof caulks (especially silicone-based) are used to prevent water from seeping into the wall or subfloor, which could lead to mold, rot, or structural damage.
Regular inspection and reapplication of caulk in these areas is crucial for long-term protection.

Bathroom and kitchen caulking , waterproofing tips:
Bathroom Caulking & Waterproofing Tip
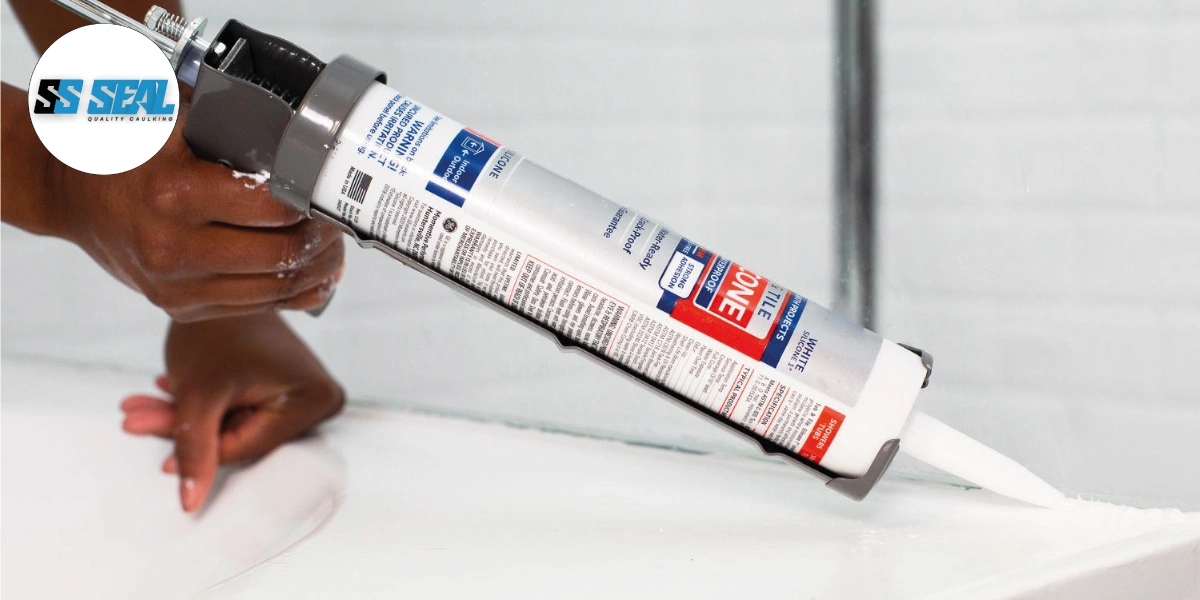
Bathroom caulking is essential for preventing moisture damage, mold growth, and leaks around sinks, tubs, showers, and toilets.
Start by choosing a high-quality 100% silicone caulk it’s waterproof, flexible, and mold-resistant, making it ideal for high-humidity areas.
Before applying, thoroughly clean and dry the surface, removing any old caulk with a plastic scraper or caulk remover.
Tape off edges to ensure clean lines, then apply a smooth, even bead and gently tool it with a caulking tool or your finger dipped in soapy water.
Allow at least 24 hours for curing before exposing it to water.
Kitchen Caulking & Waterproofing Tips
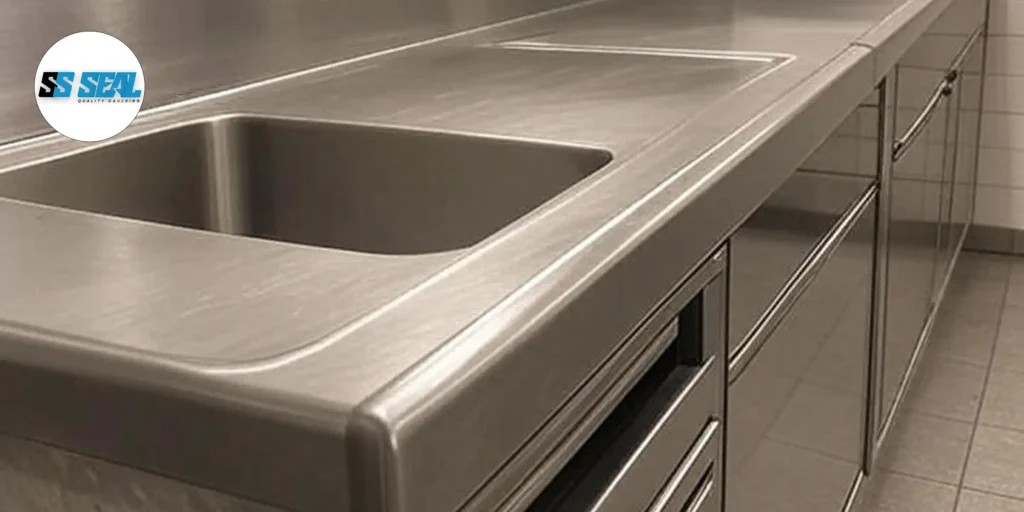
In the kitchen, caulking helps seal gaps around sinks, countertops, backsplashes, and windows to prevent water intrusion and food debris buildup. For areas near cooking surfaces, consider using a heat-resistant caulk. Make sure to remove all grease and grime before applying new caulk rubbing alcohol works well as a surface prep.
Pay special attention to joints where water might accumulate, like between the sink and countertop. Use a clear or color-matched caulk for aesthetic consistency.
Regularly inspect and touch up caulking to maintain a clean, sealed kitchen environment. A little upkeep goes a long way in preventing structural and hygiene issues.
In bathrooms and kitchens, where water and humidity are constantly present, using the right caulk is crucial to prevent leaks, mold, and long-term damage.
For these areas, always choose a 100% silicone caulk or a kitchen & bath-specific formula, as these are designed to resist water, mildew, and mold growth.
Make sure the surface is completely dry, clean, and free of soap residue or old caulk before applying.
A common mistake is caulking over damp or dirty areas, which can lead to early failure and mold buildup underneath.
For best results, apply caulk in a smooth, continuous bead along edges where sinks, bathtubs, showers, and countertops meet walls or tiles.
Use painter’s tape on both sides of the gap for clean lines, and smooth the bead immediately with a caulking tool or damp finger to ensure full adhesion. Allow the caulk to cure fully usually 24 hours before exposing it to water.
Regularly check high-moisture areas for cracks or peeling, and reapply caulk when needed to maintain a tight, waterproof seal that protects your home from costly water damage.

When to recaulk ?
list of when to recaulk:
- Visible cracks or gaps in the caulk line.
- Peeling or crumbling caulk that no longer adheres.
- Mold or mildew growing on or under the caulk.
- Water leaks or dampness near caulked joints.
- Discoloration or yellowing indicating age.
- Caulk older than 5 years ,even if it looks intact, it’s wise to check.
Mistakes to avoid when caulking?
When caulking, one common mistake to avoid is applying new caulk over old, damaged caulk.
This might seem like a shortcut, but it prevents proper adhesion and leads to early failure.
Always remove old caulk completely, clean the surface, and let it dry before applying new caulk for a long-lasting seal.
Another mistake is using the wrong type of caulk for the job.
For example, using painter’s caulk in a wet area like a bathroom can lead to quick deterioration. It’s important to choose the right product such as silicone or specialized bathroom caulk for each surface and environment to ensure durability and waterproofing.
Applying too much or too little caulk can also cause problems. Overfilling creates a messy appearance and may not cure properly, while underfilling can leave gaps that allow moisture or air through. Use a steady hand and a caulking tool to create a smooth, even bead for the best results. Taking your time and following instructions can prevent most caulking issues.
When to call a professional for caulking?
Calling a professional for caulking is wise when the job involves hard-to-reach places or critical areas like exterior joints, high windows, or large bathtubs. These situations often require special tools, safety measures, and experience to get a proper seal.
You should also consider a professional if you’ve tried caulking before but still notice issues like mold, cracking, or leaks.
These may be signs of deeper problems or incorrect materials that a pro can identify and fix correctly.
Lastly, if you’re preparing your home for sale or rent, a clean, smooth caulking job adds to the overall appearance.
A professional finish not only looks better but also lasts longer, reducing the chance of future repairs.
Complex installations and tight spaces
Some areas, such as behind toilets, under deep counters, or around oddly shaped fixtures, require specialized tools and experience to caulk effectively. If the space is too cramped, the angles awkward, or the surfaces varied, getting clean, durable lines becomes tricky.
A professional has the skill and equipment to navigate these challenges and deliver a seamless finish that not only looks great but performs reliably.
When prepping for resale or renovation
If you’re renovating your kitchen or bathroom or preparing to sell your home professional caulking provides a polished, high-end result that adds value. Sloppy or aging caulk can be a red flag to buyers or inspectors, signaling neglect or potential moisture issues.
Professionals ensure the caulking is not only neatly applied but properly matched to your surfaces and color scheme, enhancing the visual appeal and integrity of your space.
It’s an investment that pays off in confidence and curb appeal.

Final thought
Caulking may seem like a small detail, but it plays a crucial role in protecting your home from moisture, drafts, and damage.
Whether you’re sealing up a bathroom, kitchen, or window frame, doing it properly or knowing when to call a professional can save you time, money, and headaches down the line. With the right tools, technique, and attention to detail, caulking is a simple task that offers lasting benefits.